
Steaming milk using the Breville Barista Express is simpler than it might seem. By following a few key tips and techniques, you can transform your homemade lattes, cappuccinos, and other coffee beverages into café-quality masterpieces. This comprehensive guide will lead you through each step, from setting up your Breville to addressing common steaming challenges, ensuring you achieve smooth, velvety microfoam every time. Discover the advanced features and performance of this machine in our Breville Dual Boiler BES920XL review
The Importance of Steamed Milk in Coffee Beverages
Steamed milk is essential in creating the perfect coffee drink. It’s more than just a creamy layer; it plays a pivotal role in enhancing the overall flavor of your espresso. The rich texture of steamed milk balances the robust coffee flavors with a subtle sweetness, thanks to microfoam—the fine, silky bubbles that blend seamlessly with your espresso. Mastering steamed milk is crucial for producing latte, cappuccino, or macchiato with that sought-after coffeehouse quality right at home. Learn about the ease of use and innovation in our Breville Barista Touch Impress review
Setting Up Your Breville Barista Express for Optimal Milk Steaming
Proper preparation of your Breville Barista Express is key to successful milk steaming. Follow these steps to ensure your machine is ready for creating the perfect microfoam:
Preheat Your Breville Barista Express
For ideal milk steaming, ensure your machine is fully heated. Even after the steam indicator light turns on, allow an additional minute or two for the machine to reach the optimal temperature. This extra time guarantees that the steam wand functions at its best. Compare these two popular models in our Breville Barista Express Impress vs Pro review
Purge the Steam Wand
Always start by purging the steam wand. Turn the steam dial briefly to expel any residual water. Using dry steam is crucial for achieving a smooth and creamy milk texture, as it prevents dilution and ensures better foam quality. Find out which machine suits you better in our Breville Barista Pro vs Express review
Essential Equipment for Steaming Milk with the Breville Barista Express
To steam milk effectively, gather these essential tools:
- Cold Milk: Whole milk is ideal for a creamy texture, but barista-grade oat or almond milk are excellent dairy-free alternatives.
- Stainless Steel Milk Pitcher: This helps maintain the milk’s temperature and facilitates the swirling motion needed for smooth microfoam.
- Thermometer (Optional): While experience can help you gauge temperature by feel, a thermometer provides precision for monitoring milk temperature accurately.

Step-by-Step Instructions for Steaming Milk on the Breville Barista Express
Achieving perfectly steamed milk involves precise timing and technique. Follow these detailed steps for flawless results:
1. Prepare the Milk
Pour cold milk into your stainless steel pitcher, filling it about one-third full. Starting with cold milk gives you ample time to develop the ideal texture before it heats up, allowing better control over the steaming process. Explore the key differences between these premium machines in our Breville Oracle vs Oracle Touch review
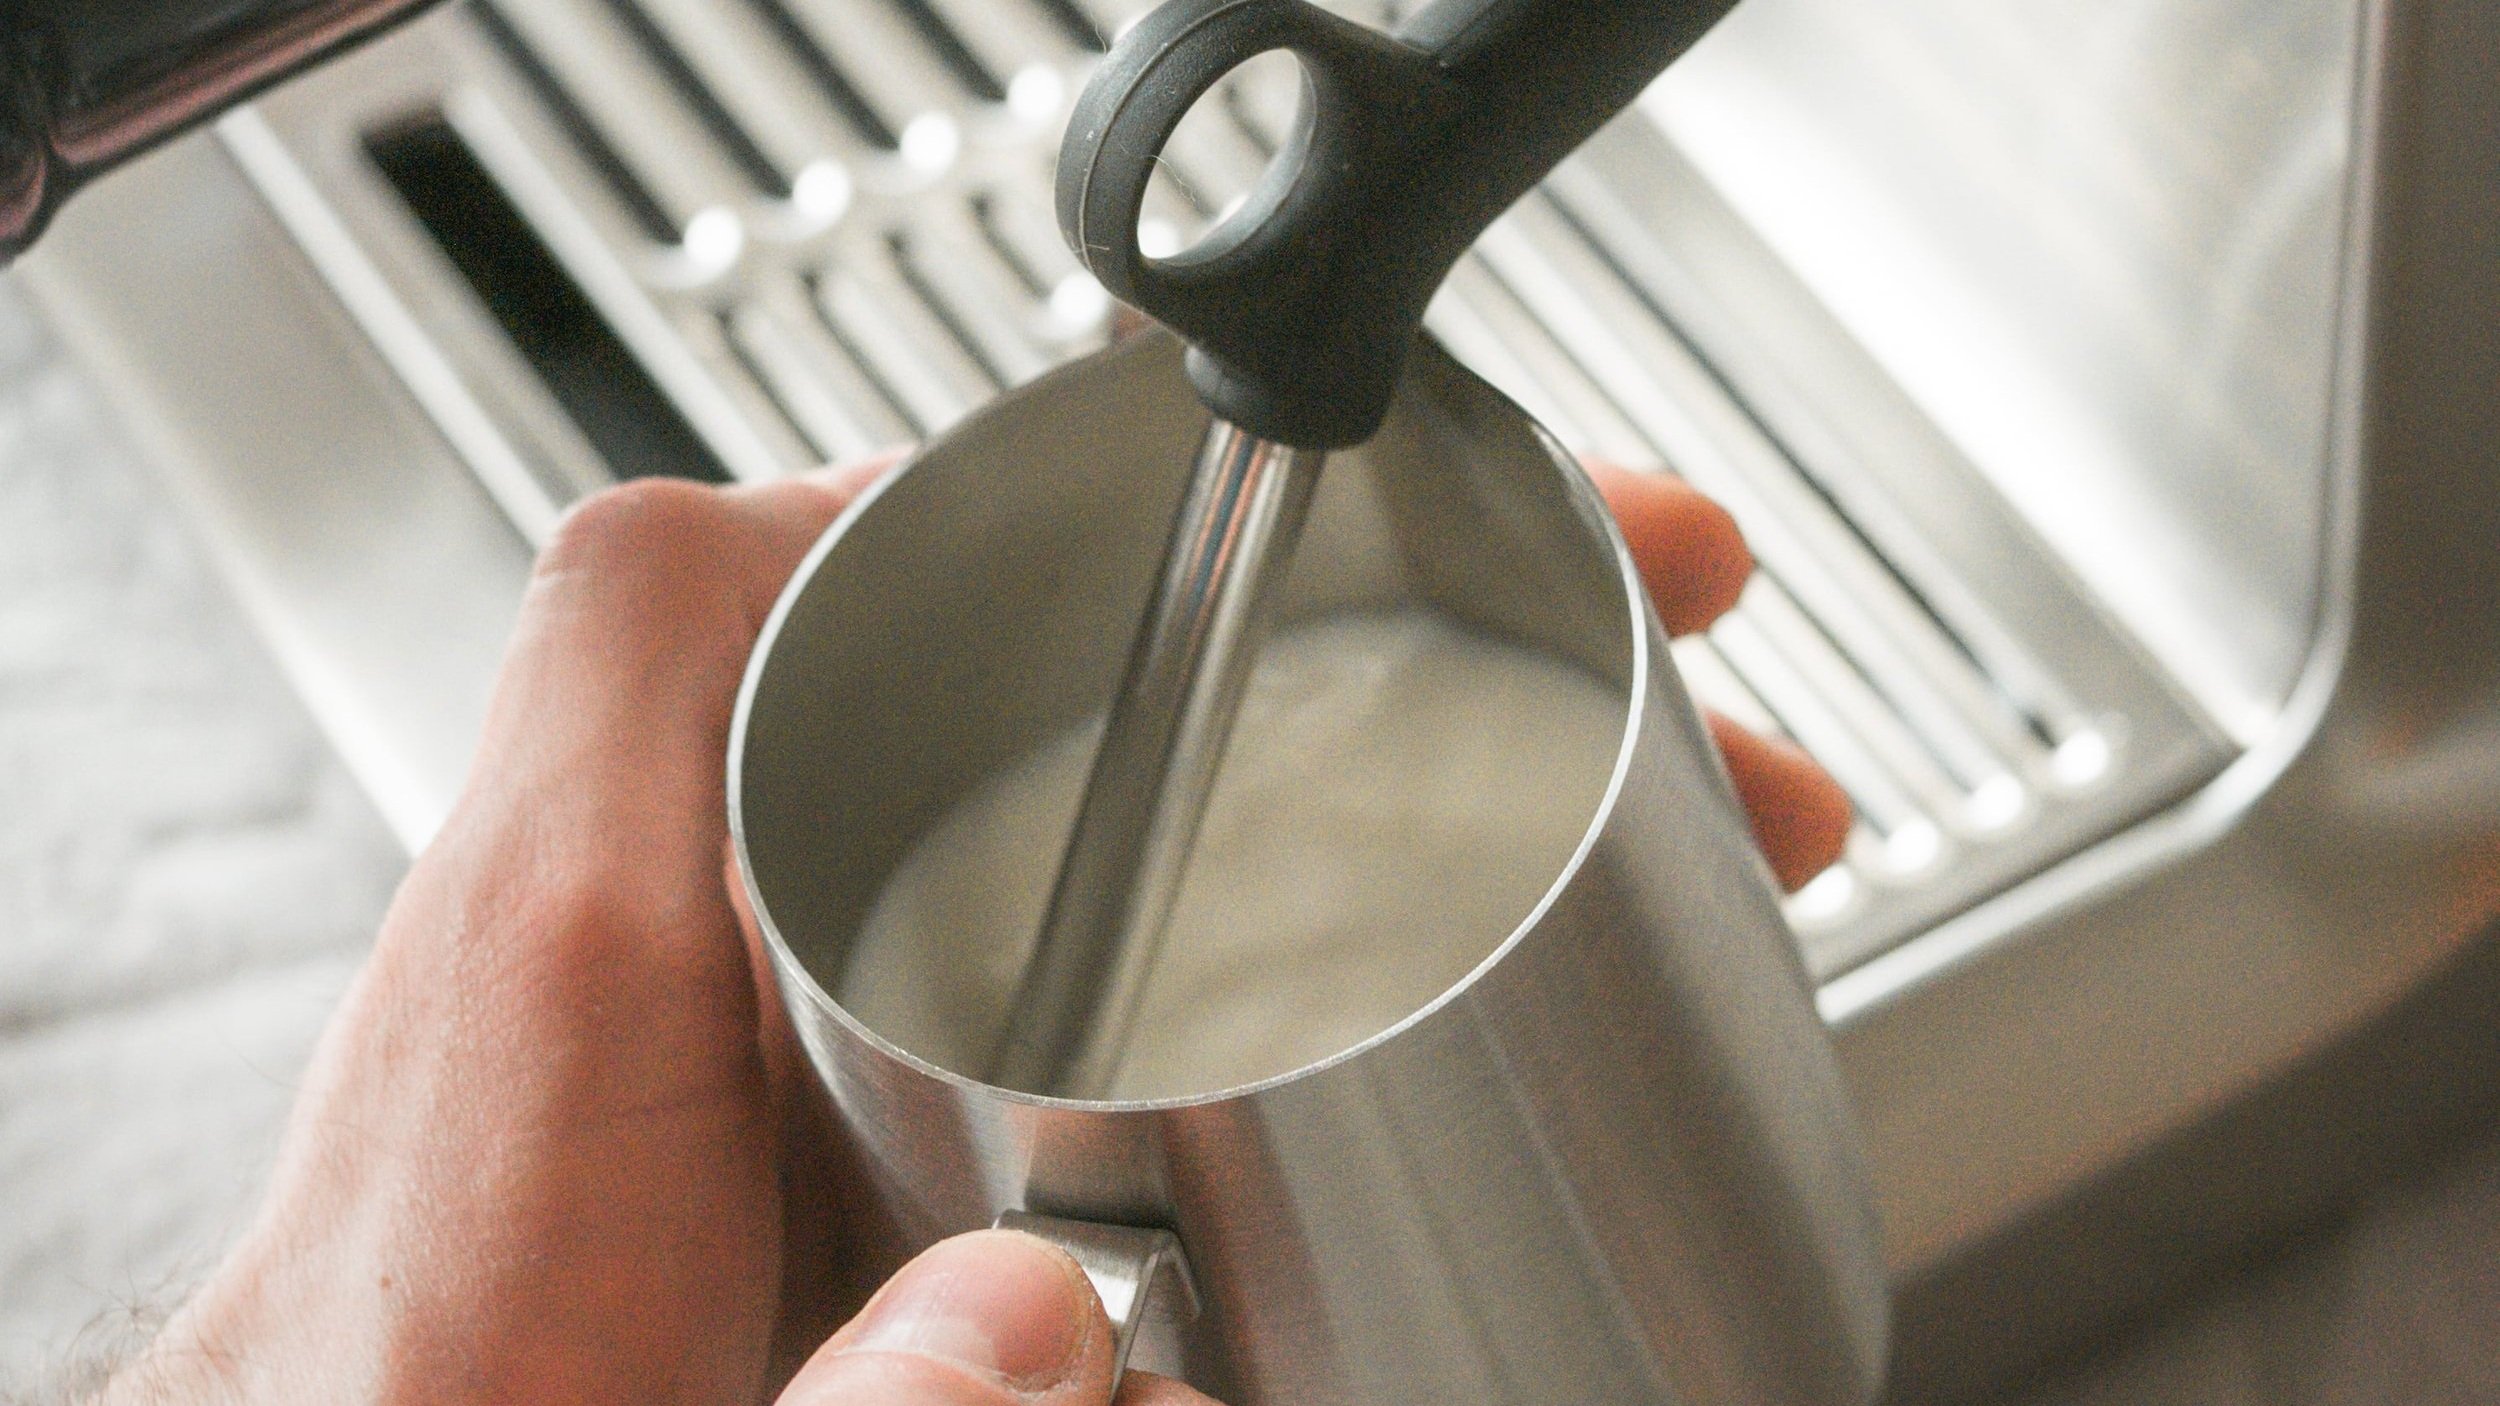
2. Position the Steam Wand Correctly
Insert the steam wand into the milk at a slight 15-20 degree angle, ensuring the tip is just below the milk’s surface. This positioning is crucial for creating a whirlpool effect, which breaks down larger bubbles and integrates the foam into the milk smoothly.
3. Initiate the Stretching Phase
Turn on the steam and listen for a gentle hissing sound. Keep the steam wand near the milk’s surface during the stretching phase, typically lasting 5-10 seconds. This step introduces air into the milk, forming bubbles and starting the foam creation process.
4. Texture the Milk
After stretching, lower the pitcher slightly so the wand is deeper in the milk. You should see the milk swirling in a vortex, which helps blend the foam and liquid milk into a silky smooth texture.
5. Achieve the Perfect Temperature
Aim for a milk temperature of around 150°F (65°C). If you’re not using a thermometer, gauge the temperature by feeling the pitcher. When it becomes too hot to hold comfortably for more than a few seconds, it’s time to stop steaming.
6. Finalize and Clean the Steam Wand
Once the desired temperature is reached, turn off the steam and remove the wand from the milk. Wipe the wand with a damp cloth to remove any milk residue, and purge it briefly to prevent milk from clogging the wand.
Enhancing Your Pour: Achieving a Harmonious Blend of Milk and Espresso
To pour a latte or cappuccino that’s both visually appealing and delicious, follow these tips:
Start by pouring slowly with the pitcher close to the espresso surface. As you approach the top of the cup, raise the pitcher slightly and increase the pouring speed to layer the foam on top. With practice, you can even create latte art, such as hearts or rosettas, to elevate your coffee presentation.
Addressing Common Milk Steaming Challenges
While steaming milk with the Breville Barista Express is generally straightforward, you might encounter a few issues. Here are some common problems and their solutions:
1. Inadequate Frothing
If your milk isn’t frothing properly, ensure you’re using cold milk and that the steam wand tip is correctly positioned just beneath the milk’s surface. Additionally, always purge the wand before steaming to avoid introducing water into the milk.
2. Large Bubbles in the Foam
Large, unsightly bubbles indicate excessive air was introduced during steaming. To fix this, adjust the steam wand position to remain just below the milk’s surface and avoid inserting the wand too deeply into the pitcher.
3. Overheated Milk
Overheating milk can result in a loss of sweetness and a burnt taste. To prevent this, monitor the milk’s temperature closely. If you’re not using a thermometer, stop steaming when the pitcher becomes too hot to touch comfortably for more than a few seconds.
Conclusion: Perfecting Milk Steaming with Your Breville Barista Express
Mastering milk steaming on the Breville Barista Express is a skill that improves with time and practice. By following these steps and utilizing the troubleshooting tips provided, you’ll be able to create microfoam that rivals your favorite café’s lattes and cappuccinos. Whether you’re refining your pouring technique or experimenting with latte art, the key is to enjoy the process. With the right approach and a bit of patience, you’ll be crafting barista-level coffee beverages in the comfort of your home in no time.
Frequently Asked Questions About Steaming Milk
What Type of Milk is Best for Steaming?
Whole milk is ideal for achieving a creamy texture, but barista-grade oat or almond milk are excellent dairy-free alternatives. These plant-based options froth well and provide a similar texture to dairy milk.
Why Isn’t My Milk Frothing?
Ensure you’re using cold milk and that the steam wand tip is correctly positioned just below the milk’s surface. Additionally, remember to purge the steam wand before each use to enhance frothing quality.
How Can I Prevent Overheating My Milk?
Use a thermometer to accurately monitor the milk’s temperature, or stop steaming when the pitcher becomes too hot to hold comfortably for more than a few seconds.
Can I Use Non-Dairy Milk?
Absolutely! Barista versions of non-dairy milks are specifically formulated to froth effectively and work seamlessly with the Breville Barista Express.